|
Before catching the bus to campus this morning, I made sure to load up a small Tupperware with coffee grounds. Our site has a communal coffee service managed by Kate, and I decided this week I’d contribute to the pot. Our team is becoming progressively more chummy, and now the companionship is another thing to look forward to each week. Once we arrived, Kate and I headed back to ye olde Unit 6 to finish cleaning up the bottom of Level 6. Last week we noticed a concentration of charcoal in the floor of Level 6. Upon scraping and cleaning to floor, Dr. White decided to mark, photograph, and separately excavate the charcoal pit as a feature. It was designated as Feature 6 in Level 6 of Unit 6. We placed two nails along an east/west line and ran a string between them to bisect Feature 6 into north and south halves. Dr. White used one of the most technologically complex archaeological tools (a spoon) to scoop out the south half of the pit, preserving a clean wall along the east/west line. With the south half scooped and screened, Kate and I drew a profile of the feature, delineating two zones of high and low concentrations of charcoal. 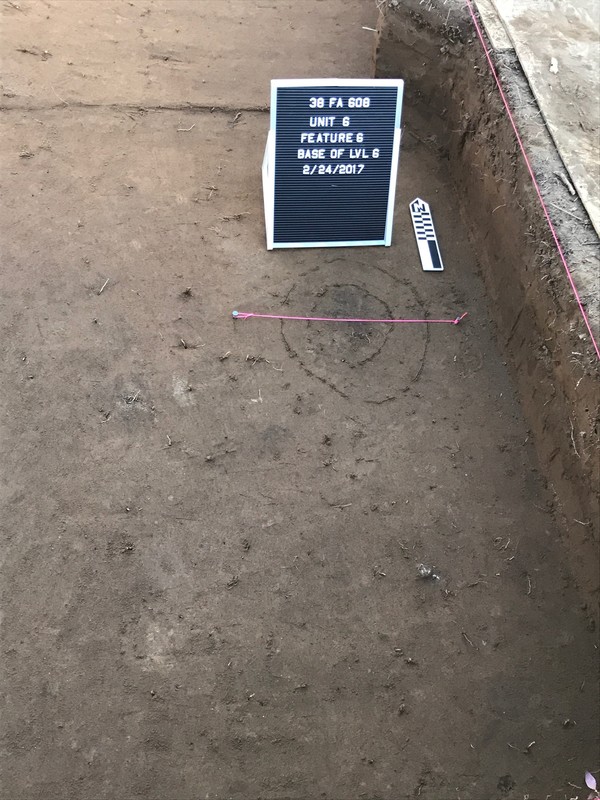 Feature 6 exposed in plan view. With the profile drawn, the north half of the feature was scooped out and double bagged in trash bags to save all the dirt for a flotation sample. A float sample allows the entire dirt sample to be submerged in water, allowing any organic material to float to the top. The rest of the pit was scooped and screened so as to not contaminate the rest of Level 7. 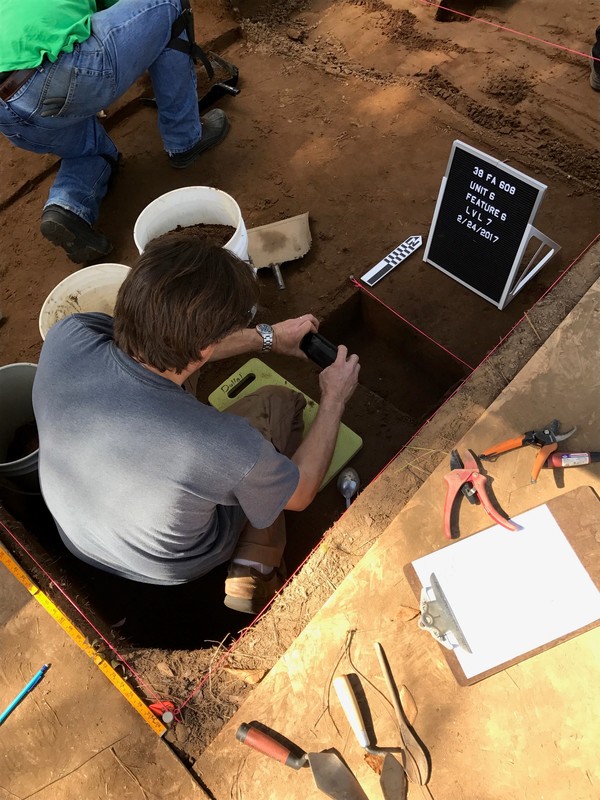 Dr. White photographing the profile of Feature 6. Dr. White thinks the pit could be a smudge pit: a small hole filled with charcoal to create smoke and ward off mosquitoes. While Feature 6 may not have been as dramatic and interesting as the nickname we gave it (which Dr. White redacted from this blog post), it's still incredibly cool to witness and learn about these ancient locations. As we began digging Level 7, it was time to pack up and I was left to wonder what other ancient objects we would discover next week. 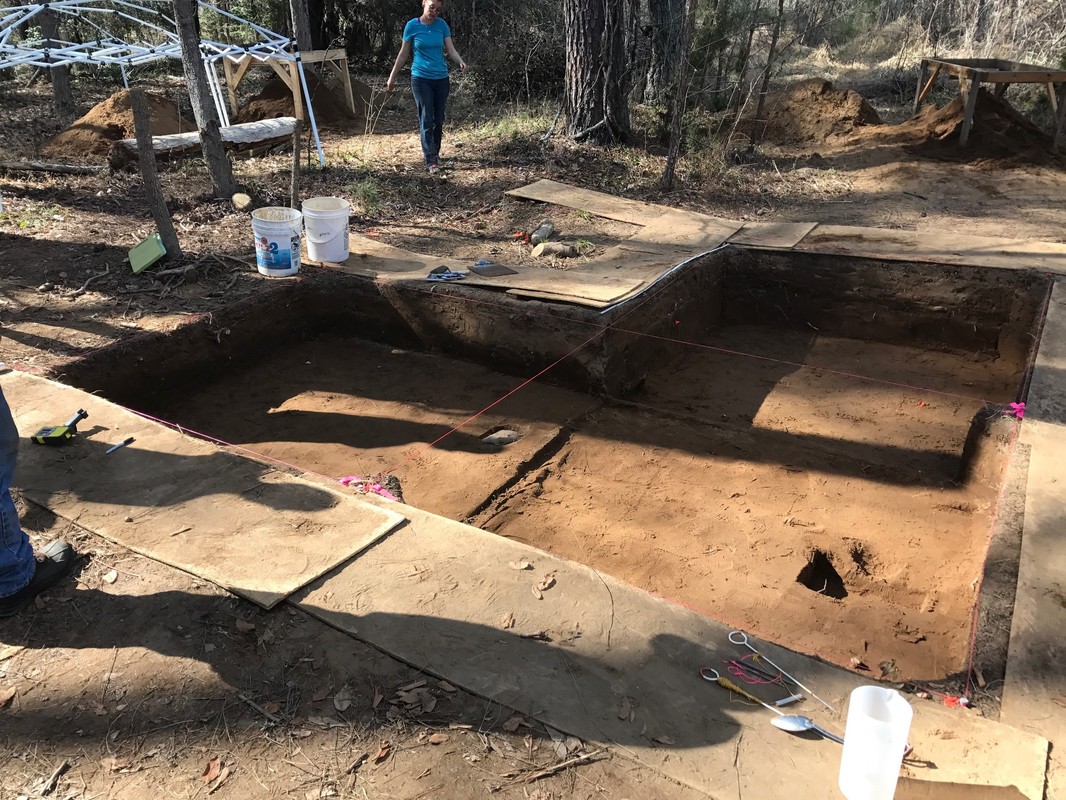 The excavation block at the end of Day 7.
0 Comments
Being on an actual dig has surpassed all my expectations so far. It has been fun and enriching. The only downside that comes to mind is the weather we sometimes have to work in. I guess if you don’t want to be in the cold or heat, archaeology is the wrong field of choice. That being said, Day 7 was actually a very beautiful day. I was actually surprised with how fast the morning chill became warmth. All I had to do was blink. Day 7 was probably the best day for learning that I had since Day 1 and 2. Ever since Day 2 I have been stuck in the same unit (Unit 5). Not to say that Unit 5 is boring -- it’s great. However eventually you have to do something different. I was moved to Unit 9. At Unit 9 we found what is called FCR or fire-cracked rock, which is rock that has come into contact with fire and has burst. I had not yet seen FCR in my previous unit, so I asked questions and learned that sometimes in FCR you can see red, which is the iron that was heated up by the fire. I also learned how to distinguish it from normal rocks by its form. I thought it was great, but fire-cracked rock is not culturally dignostic, so if we would have found it out of context, it would have been almost useless. We also found a lot of quartz flakes. Fire-cracked rocks, regular rocks , and flakes was pretty much the extent of what we found. 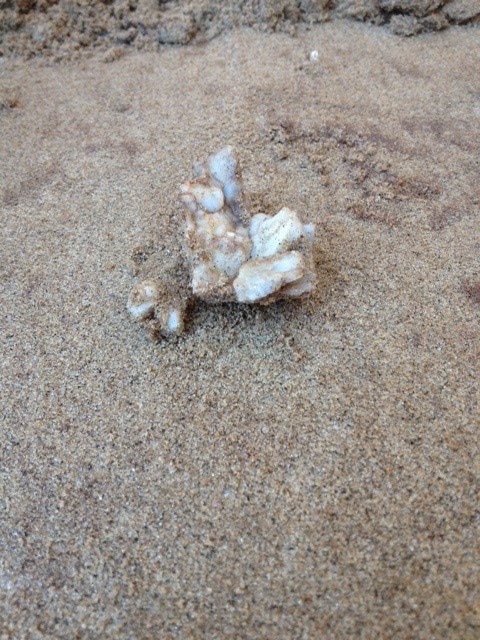 A piece of FCR exposed during excavation in Unit 9. One of the good things about me being moved to Unit 9 is that is let me get my hands more deep in the paper work, and organization. Which previously I had done little of. The only other real eventful thing that happened that day was that we all saw a big black snake . This reminded us that we are not alone in the woods, and that this is in fact home to many things besides artifacts. 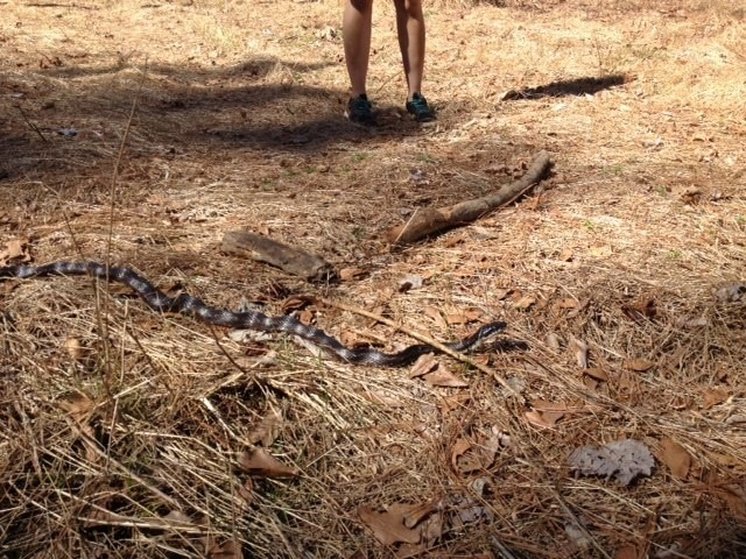 For the first morning in several weeks the weather was warmer than freezing when we got to the site at the beginning of the day. The road to the site has a concrete bridge with a stream running below it and for the past several weeks Dr. White has been waging war on the build-up of sticks and vegetation that keep making the stream run across the bridge. We finally decided this week that the dam was the work of beavers and that messing with it every week really wasn’t helping keep the road clear. When we got to the site and started work for the day Jake and I were assigned to work on the unit below the profile (Unit 7), or downstairs, for the second week. The week before we had gotten the unit to level 2, or 30 cm below the datum and we started the day by opening up the paperwork and an artifact bag for level 3. Despite the rain during the week there wasn’t a great deal of water in the unit which made the tarp covering it pretty easy to remove and so it didn’t take us long to get started. We spent most of the time before lunch working on level 3, trying to take it to 50 cm below datum. In the 20 cm-worth of sand we removed there was exactly one very small pebble that might have been the gizzard-stone of a long ago bird. Though the soil was pretty much sterile it was easy to remove since at around 35 cm it became very sandy and only intermittently interrupted by the lenses of clay (lamellae) that characterize undisturbed soil. These lenses are the result of the smaller clay particles migrating downwards through the sandy sediment to form layers of clay within the sand. 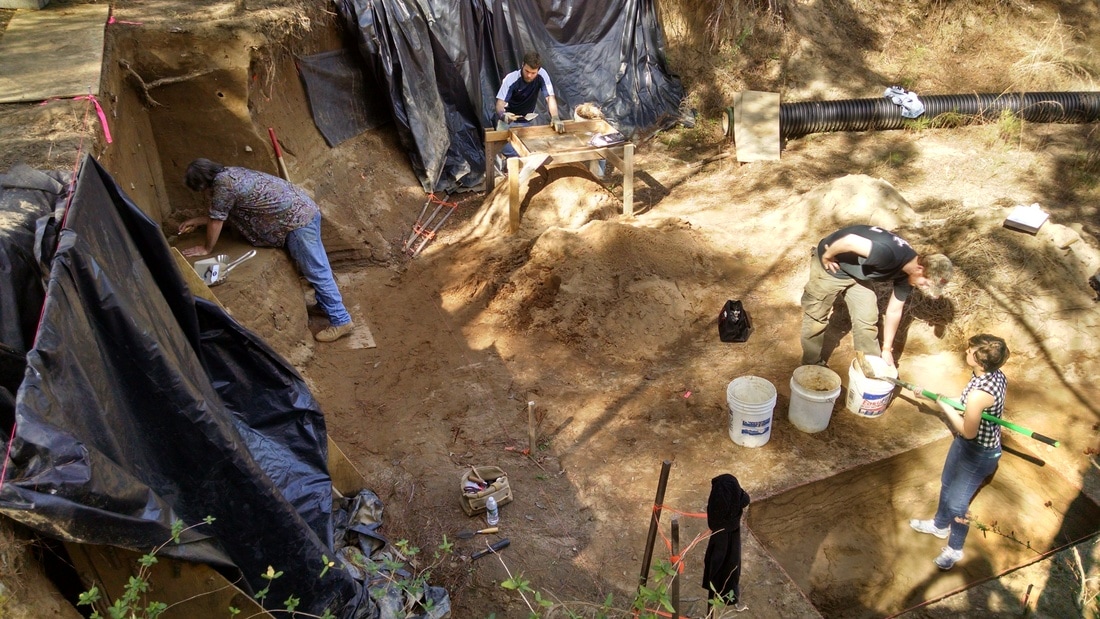 Work in progress "downstairs." Unit 7 is at the bottom right. By lunch time the temperature was probably in the mid-70’s or higher and we were glad to get into the shade to eat. During lunch someone was walking back from the river when suddenly a shriek rang through the trees and we all went to go investigate and found a black snake, I think it was a rat-snake, that must have been around four feet long. We scared the snake into fleeing and I was reminded of how fast they can move if they feel motivated enough.
After lunch we went back to finishing level 3 and then manually took our elevations using a string and a line level. For the downstairs levels we can’t use the laser sensor to take depths so we learned to do it manually. There is a stake beside our unit that is the same elevation as the datum point below the profile with a string tied to it at a certain height. In order to find the elevations of our unit floor we pass the string over the place where we need to take the measurement and use the line level to ensure that the string is even. We then use a ruler to find the distance between the unit floor and the string. When we finished taking our elevations for level 3 we were told to excavate down to 70 cm. for level 4. Level 4 also consisted of mostly sterile soil with a few small pebbles that visually matched the pebbles from level 3. About halfway down in level 4 we started seeing patches of charcoal and soil that was greyish or burned looking. Despite excavating these areas carefully to look for features the charcoal never resolved itself or concentrated anywhere in particular. When we got down to the bottom of the level there were patches of blueish-gray soil ringed with orange in a few places which we found interesting but have no explanation for at the moment. By the time we were finished digging for the day the unit was too deep for me to get out of on my own and I had to be either helped or lifted to make it out. In the units above the profile they continued their work on piece-plotting and careful excavation to pinpoint the location of all of the artifacts that they find. |
Student Blog (2017)Blog posts written by the students of the 2017 Broad River Archaeological Field School Archives
April 2017
Categories
All
|
 RSS Feed
